(6) How to change an album’s cover picture
Published by marco on
This article is part (6) of a multi-part earthli Albums tutorial.
Changing the cover for an album is the same as editing one, but you need to actually add pictures or move pictures from another album first. To change the cover picture for an album, go to the album’s home page. If you follow the instructions in the browsing tutorial, you should see the Galapagos as shown below:
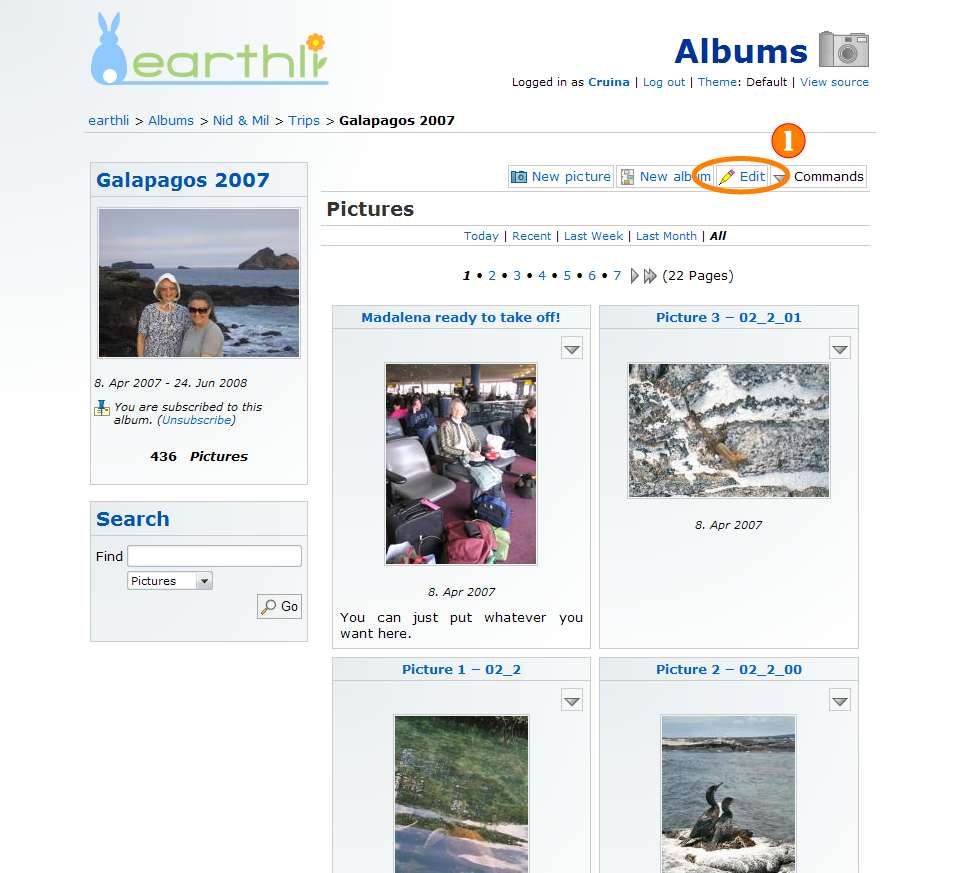 Galapagos Home Page (click to enlarge)
Near the top of the home page, you should see the “Edit” button (1); press it to show the page below (if you can’t see the button, follow the instructions for logging in before continuing):
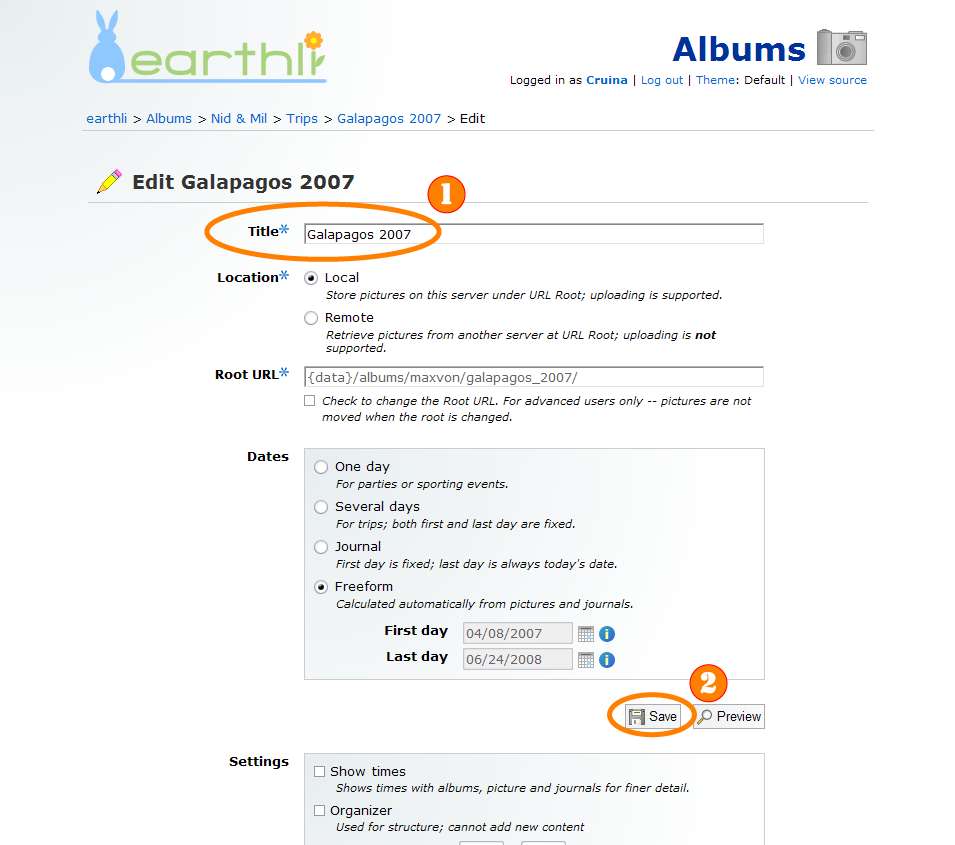
There are a lot of settings on this page, but just scroll down until you see the page shown below:
 Edit Album Browse Picture (click to enlarge)
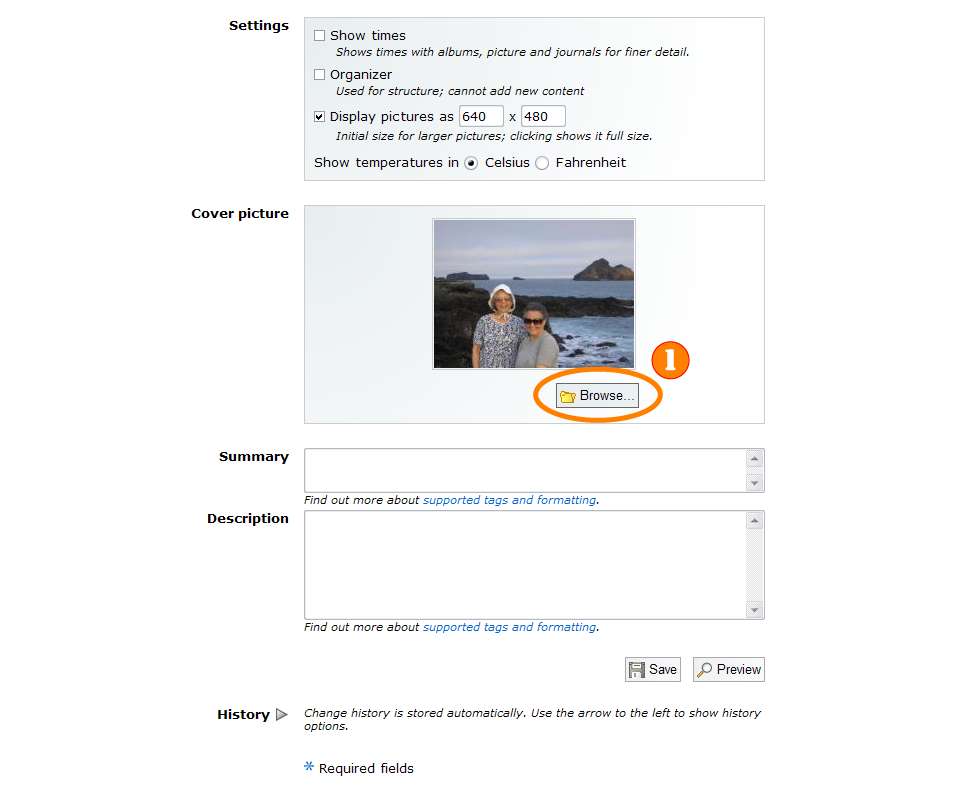
To change the cover picture for the album, press the “Browse…” button (1) to open the picture browser, showing all the pictures in the current album.
 Browse Picture (click to enlarge)
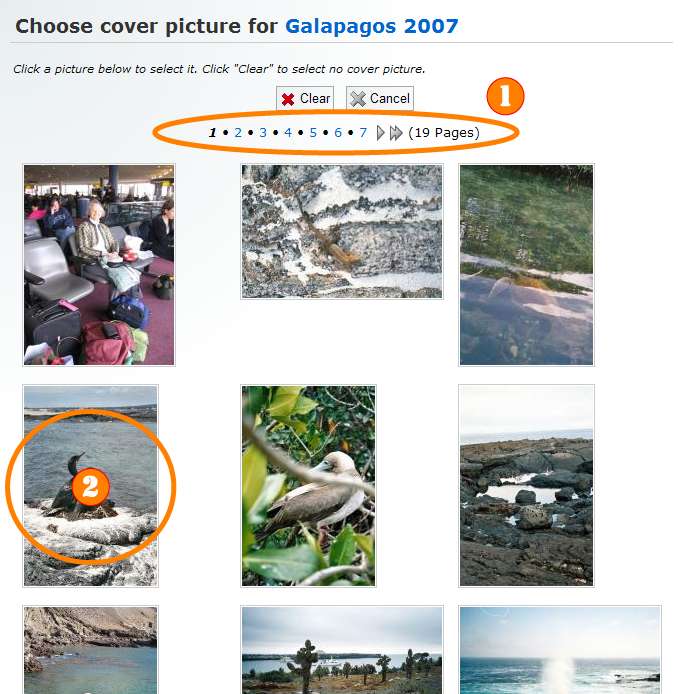
Use the navigator controls at the top and bottom (1) to cycle through all the pictures in an album if there are a lot of them. When you’ve found the picture you want to use (2), click it to select it and close the window and return to the album editor, as shown below:
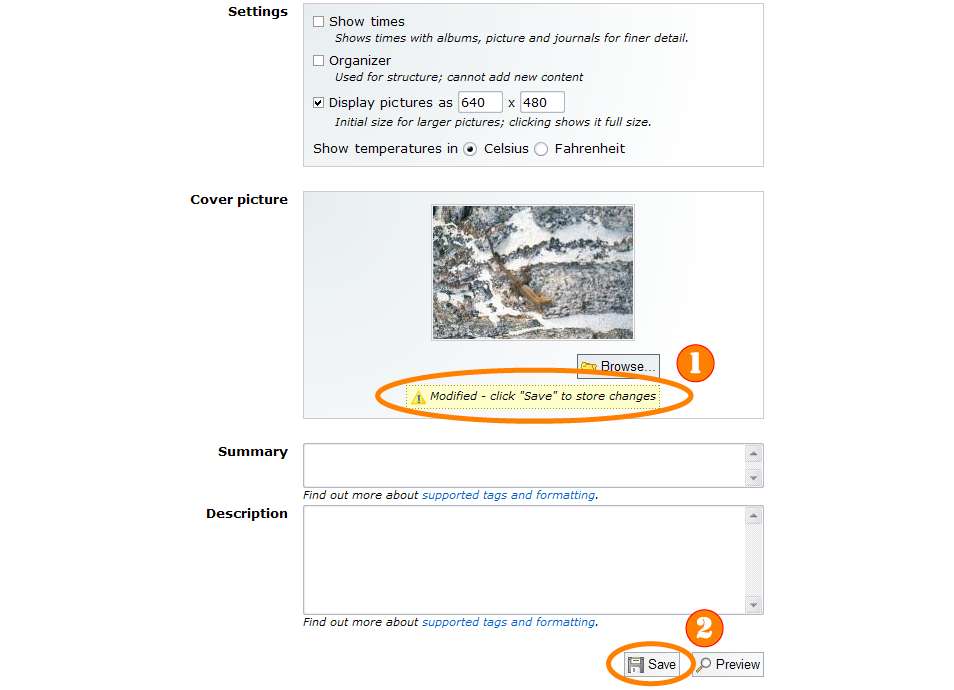 Edit Album Browse Picture Modified (click to enlarge)
You should see the picture you selected as well as a yellow marker indicating that the picture has been “modified” (1). Press the “Save” button (2) to save the changes and go back to the album’s home page.
Continue on to (7) How to delete one or more pictures.